|
Bathroom vanity faucet replacement.
I wanted to replace the 2 handle vanity faucet with a single handle unit to reduce
fresh water consumption and decrease the amount of water going into the gray tank,
normally wasted when adjusting water temperature. The problem was figuring out how
to remove the vanity to get at the faucet supply lines and remove the faucet from
the sink. After asking around, I did not receive an easy answer. I even got an email
from the factory saying that the sink should lift off high enough by simply removing
the 2 capped screws on the front of the sink and cutting the silicon sealer around
the edges next to the walls. When I tried lifting the sink, I could move it except
it was catching on the wall behind the cold water valve.
I had a couple of suggestions (including the one from the factory) that said removing
the outside shower would give access to underneath the sink, so that is what I ended
up doing. This wasn't as difficult as it sounds, but I have a suggestions if you
try it: Do Not unscrew the knurled nuts on the supply valves or elbows. They unscrew
readily, but the plastic tubing stays firmly stuck on the fittings and trying to
pull them off puts a lot of unwanted stress on the water lines. It is best to unscrew
the knurled nuts that attach the last bit of tubing to the shower unit. These fittings
are a slip fit with a cone-type sealer washer, and come off very easily.

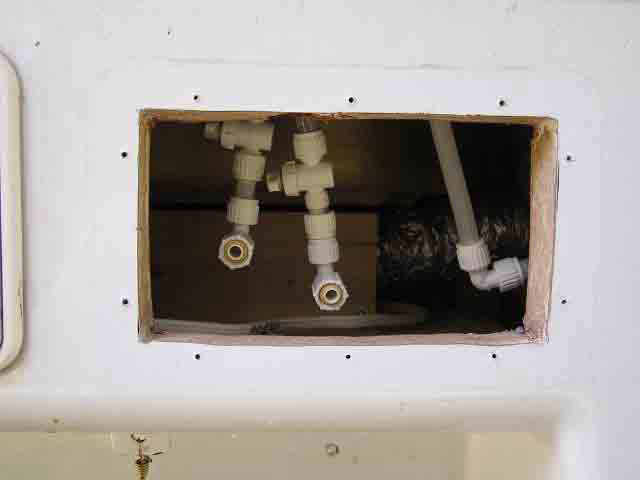
Picture 1 - Outside Shower Removed
After removing the outside shower, I could reach in and get to the supply
lines under the sink and the P-trap drain. Again, Do Not try to unfasten the tubing
from the fittings, just unfasten the supply lines at the faucet. Once I did that,
I found the sink would still not lift out - it was still catching on the wall near
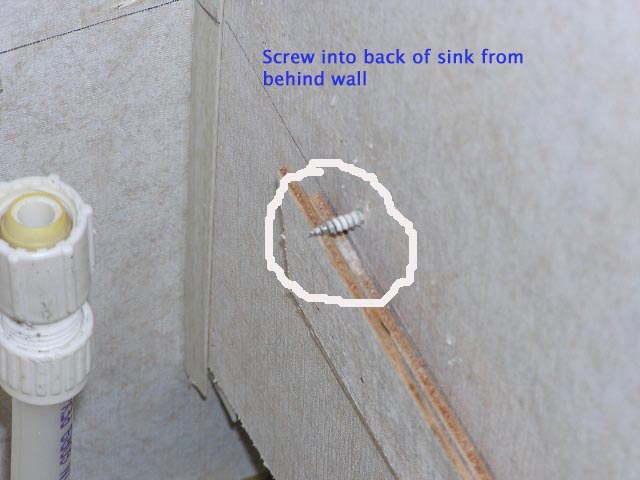
the cold water valve. On further investigation, I found another screw through the
wall into the sink, put in from behind the wall that the shower stall is on (you
can see the threaded end in the picture). I removed the screw and the sink lifted
out. When reassembling things, I debated whether or not to replace the 3rd screw.
After everything else was secure, I found that I could jiggle the back of the sink
up and down a little, so I decided to replace the screw.


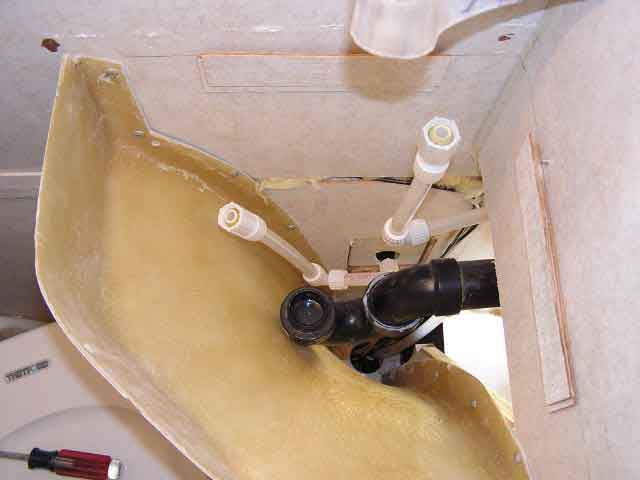
Picture 2, 3 - Sink Removed

Picture 4 - Sink replaced with single handle faucet installed |
